Why Choose an American Standard Chair Height Toilet?
American Standard chair-height toilets offer several benefits:
- Improved Accessibility: Easier to sit down and stand up.
- Enhanced Comfort: Reduces strain on knees and hips.
- ADA Compliance: Meets standards for accessibility.
- Trusted Brand: Known for quality and reliability.
Materials Needed
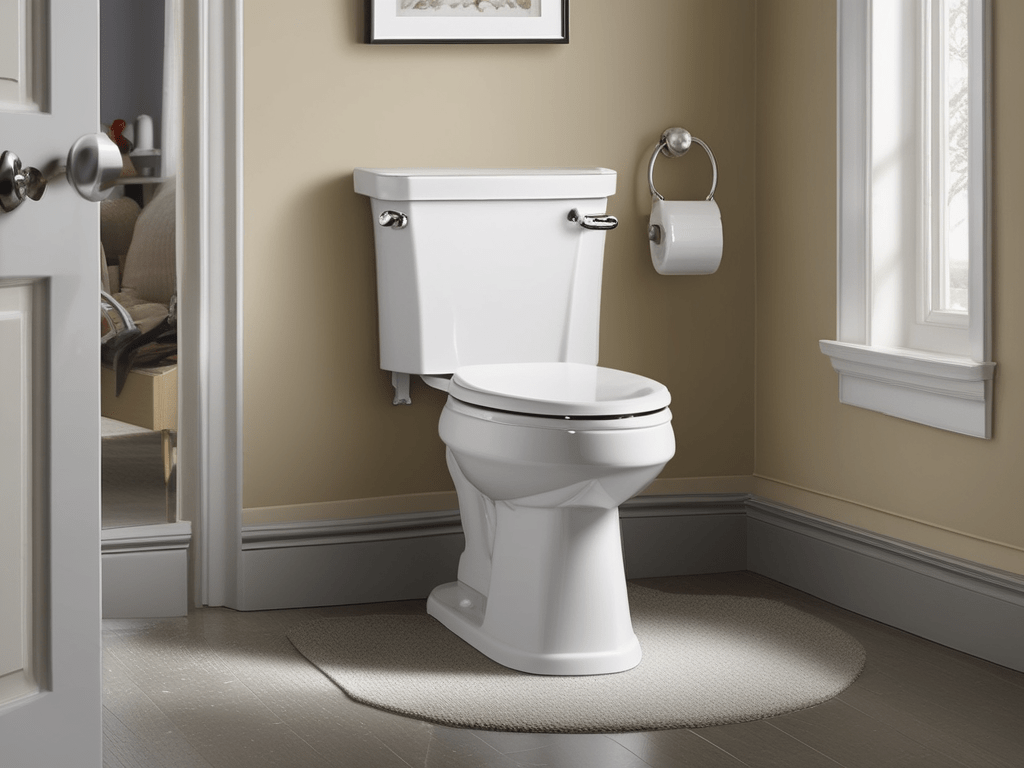
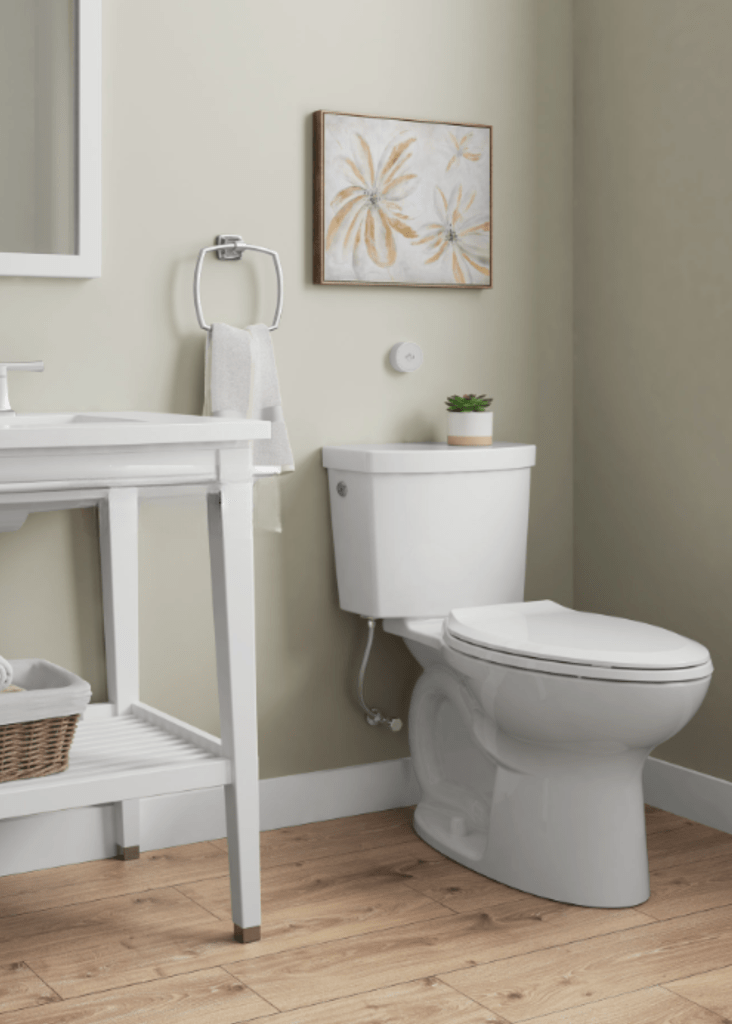
- American Standard Cadet 3 FloWise Two-Piece 1.28 GPF Single Flush Elongated Chair Height Toilet or other American Standard Toilets of your choice (Please read instructions of installation before proceding)
- Wax ring
- Toilet bolts
- Adjustable wrench
- Screwdriver
- Plumber’s tape
- Level
- Bucket and sponge
Step-by-Step Installation Guide
- Turn Off the Water Supply
- Locate the shut-off valve behind the toilet and turn it clockwise to stop the water flow.
- Flush the toilet to drain the tank and bowl. Use a sponge and bucket to remove any remaining water.
- Remove the Old Toilet
- Disconnect the water supply line from the toilet tank.
- Unscrew the bolts at the base of the toilet using an adjustable wrench.
- Carefully lift the old toilet and set it aside.
- Prepare the Flange
- Inspect the flange (the pipe fitting that connects the toilet to the floor). Ensure it is clean and in good condition.
- Place a new wax ring on the flange to create a watertight seal.
- Install the New Toilet
- Position the new American Standard chair height toilet over the flange, aligning the bolt holes with the bolts on the floor.
- Press down firmly to compress the wax ring and secure the toilet in place.
- Tighten the bolts at the base of the toilet, alternating sides to ensure even pressure. Be careful not to overtighten, as this can crack the porcelain.
- Connect the Water Supply
- Reattach the water supply line to the toilet tank.
- Turn on the shut-off valve and allow the tank to fill with water.
- Check for leaks around the base and the water supply connection. Tighten any connections if necessary.
- Level the Toilet
- Use a level to ensure the toilet is properly aligned. Adjust as needed by tightening or loosening the bolts.
- Test the Installation
- Flush the toilet several times to ensure it is functioning correctly and there are no leaks.
Final thoughts
Installing an American Standard chair-height toilet is a practical upgrade that can greatly enhance comfort and accessibility for your parents. By following these steps, you can ensure a smooth installation process and provide a more comfortable bathroom experience for your loved ones.

Leave a comment